


We have much more to do and your continued support is needed now more than ever.
Five Tips for Nesting Box Success
As winter wanes and our thoughts turn to springtime, it’s time to think about nesting boxes for birds. Many cavity nesting birds scout out and select nest sites starting in late February through May, so now is the time to begin making preparations.
While you can purchase a nesting box from many stores (including from National Wildlife catalog), building your own is fun, educational, and often cheaper! If you buy a nesting box, make sure it’s not just a decorative one, which might not be used or worse, result in nestling mortality or be occupied by invasive exotic birds such as starlings.
Whether you decide build or to buy, follow the tips below to make sure that your nesting box is a success:

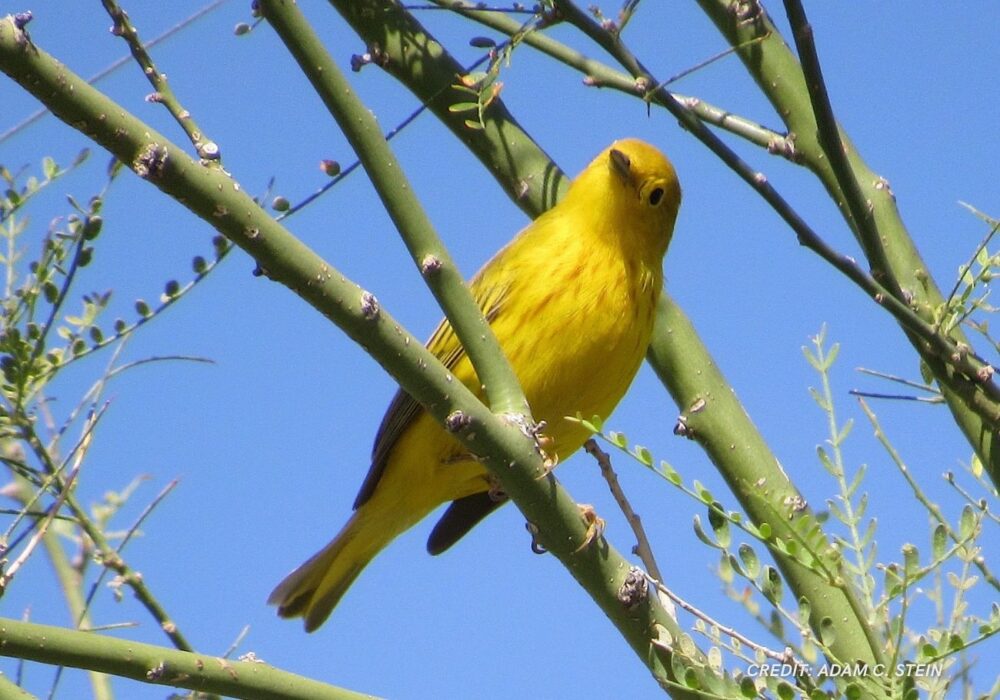
- Choose your tenant. Different bird species have different nesting needs, so it is important to tailor the nest box to the species you want. Bluebirds, chickadees, tree swallows, wrens, woodpeckers and even screech owls and wood ducks are all cavity nesters that will use a nesting box. On that note, make sure the species you want is actually found in your area! The National Wildlife Federation’s Wildlife Library has information on some of these nesters. Also, Cornell Lab of Ornithology’s All About Birds website is a great resource to learn about the ranges of birds.
- Quality first. You don’t want to live in a cardboard box covered in dangerous materials, and your feathered friends don’t want that either. The wood should be thick enough to insulate (5/8” minimum) and not treated with preservatives which may be toxic. Install drainage holes in the bottom and at ventilation holes the top so birds don’t try to raise their babies in a swamp.
- Location, location, location. While various species have varying preferences for nesting box location, there are general guidelines that apply for all birds. Make sure to place your box so that birds have a clear flight path to the entrance. Avoid placing your box in direct sunlight, as that can make it too hot. The best position provides morning sunlight and shade in the afternoon. Make sure that it is at least 6 feet above ground to deter predators.
- Beef up the security. Even if you do everything to make birds feel welcome, predators like raccoons, snakes, and domestic cats and invasive birds like house sparrows and European starlings can destroy your nest. To prevent this problem, don’t include perches with your box. Ensure that the entrance hole is no bigger than 1 1/8”, and if it is larger, check that box often to see if house sparrows have invaded. If you notice problematic species in your area, attach a predator block to the entrance hole or a piece of metal flashing to the nest-box roof. The predator block makes it so raccoons can’t reach in the box and grab the eggs or chicks, while the flashing prevents house sparrows from perching on the roof and deterring desired species. It’s also recommended to install a baffle around the pole to keep out pesky predators and squirrels.
- Don’t forget to clean! Especially if you’ve used this nesting box before, make sure you’ve cleaned out last year’s nesting material as well as any critters that may have invaded over the winter. As soon as this spring’s birds head out, remove all nesting materials to make sure the nesting box remains pest free and increase the chances that another bird family might use it again.
Keep these tips in mind, and remember that not all nesting boxes will always be a success. Many birds prefer natural cavities in snags and logs. But with some patience, luck, and careful observation, you can increase the chances that some lucky birds will call your backyard home.
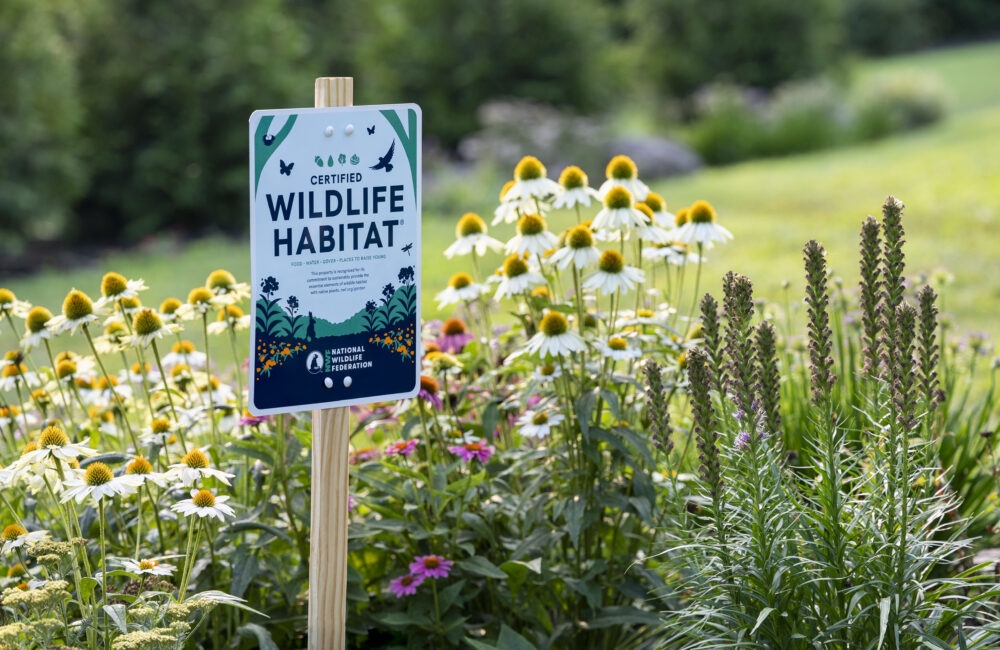
Get more tips on helping wildlife where you live, learn, work, play and worship from NWF’s Garden for Wildlife program.
