


We have much more to do and your continued support is needed now more than ever.
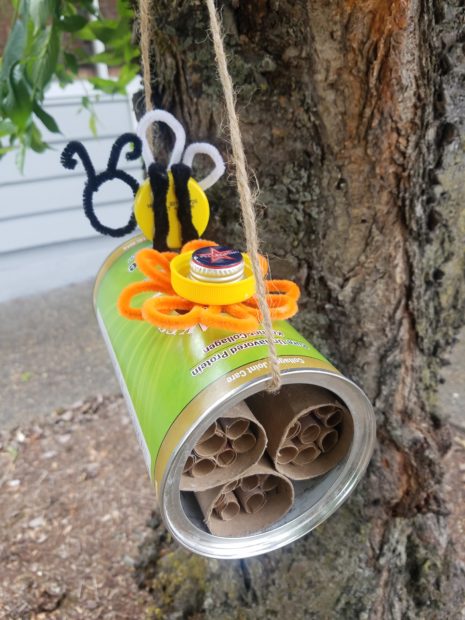
Buzzworthy Mason Bee Condos
John J. Kehoe Photography/Flickr.
Schools can “bee” a friend to native pollinators with this classroom DIY project. By making mason bee condos using recycled materials, you can teach kids about the nesting habitats and needs of native solitarily bee species.
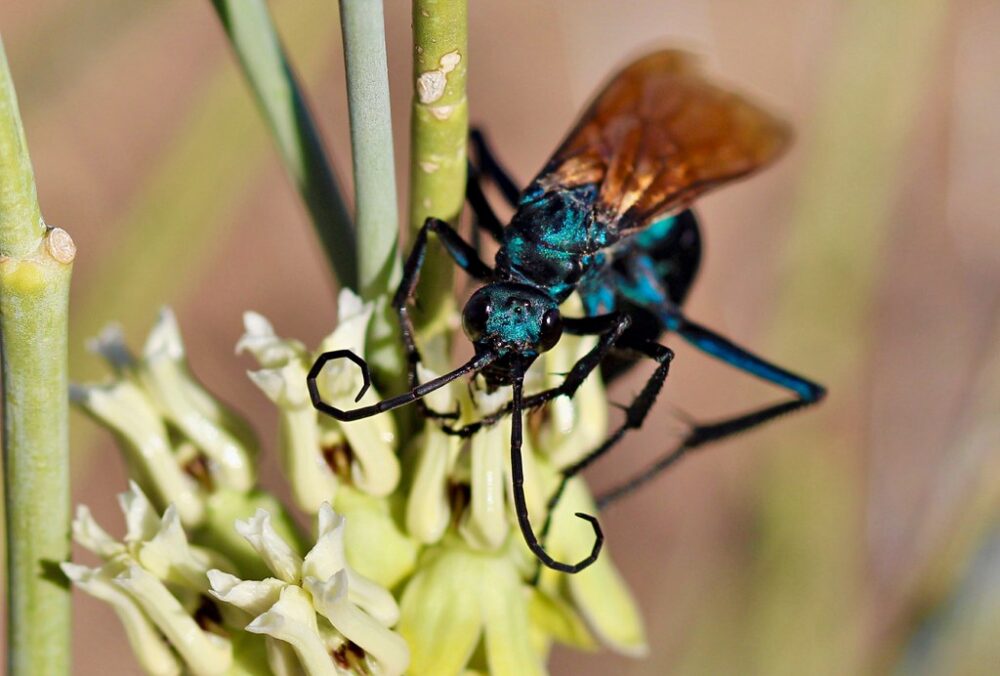
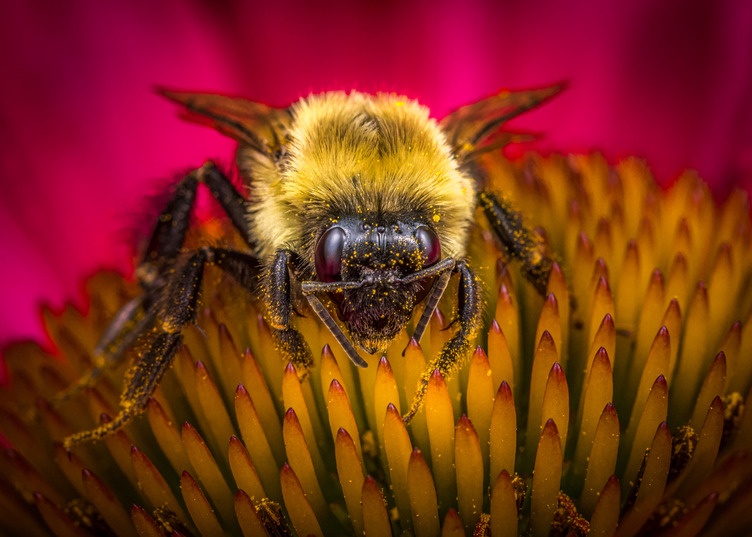
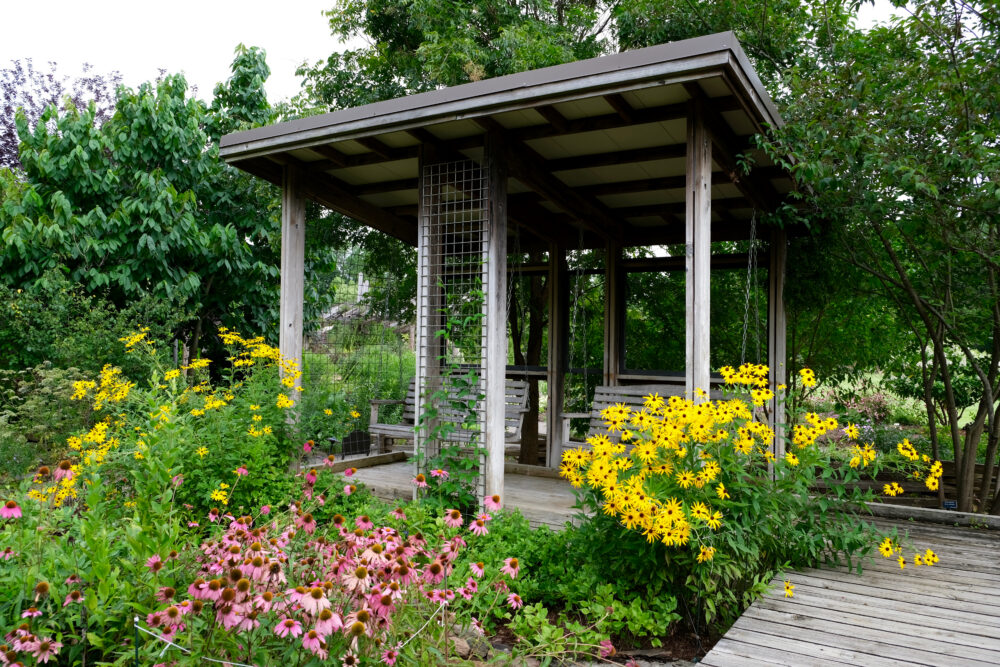
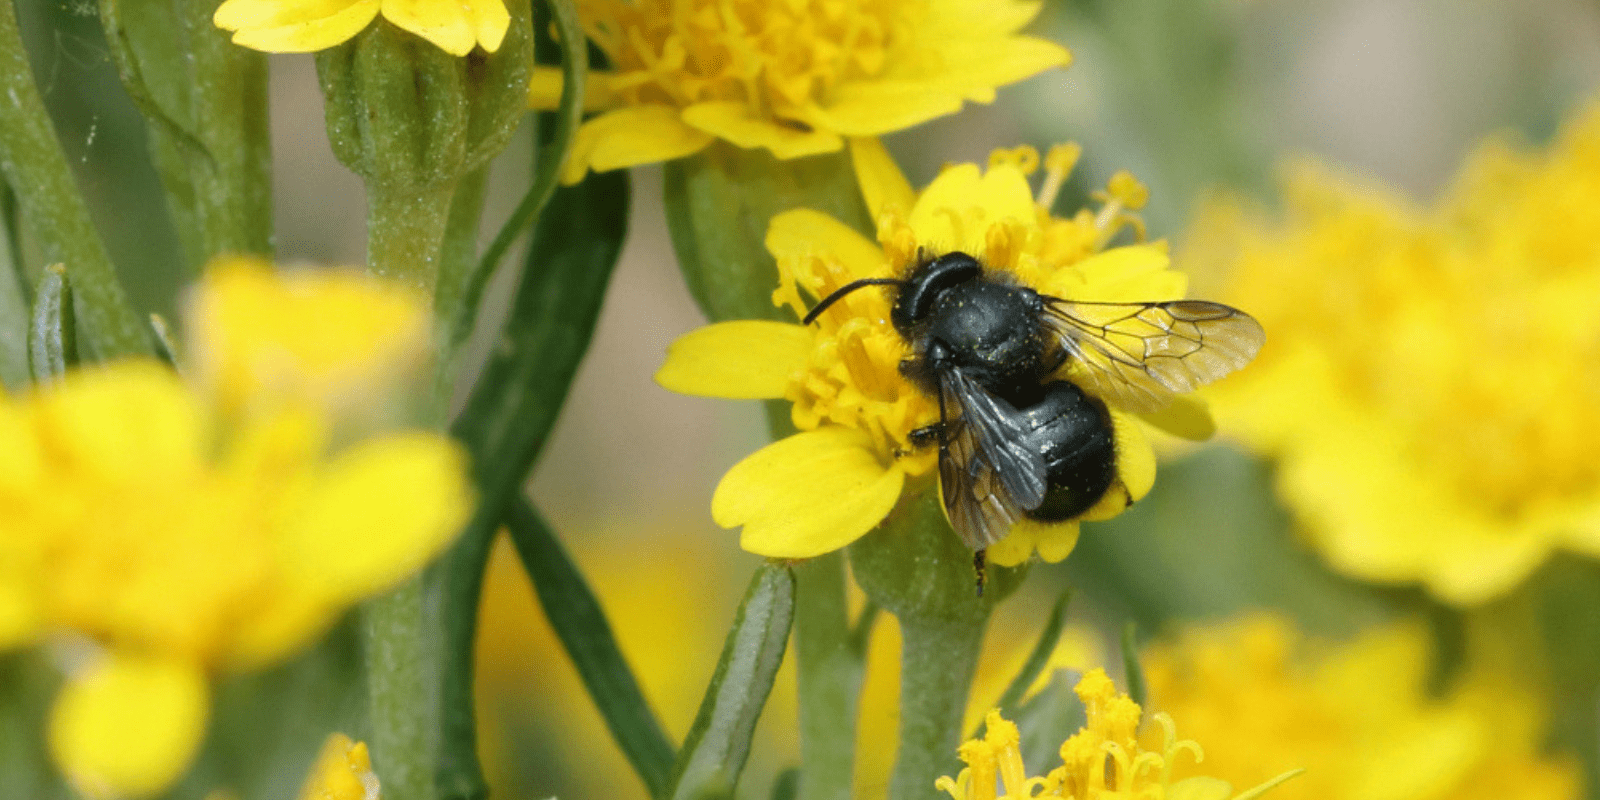
Bees are our most important pollinators. Beyond the domesticated honey bee that was imported from Europe, there are over 4,000 wild bee species native to North America. These bees pollinate wild plants as well as some crops. Most don’t form hives, but instead are solitary nesters. They lay eggs in tunnels in the ground, in decaying wood or hollow plant stems. Native bees can have a hard time finding pollen to eat as well as places to nest in neighborhoods dominated by lawns.
But never fear! There’s still hope. You can make a difference in your own garden or at a local Schoolyard Habitat with this easy project. This craft is made entirely made of recycled materials commonly used at home, so it’s free and sustainable!
Why create mason bee condos?
Mason bees are native bees that are different than hive-forming species such as the domesticated honey bee or native bumble bees. These bees are incredibly efficient pollinators, especially of fruit trees. Individual female mason bees lay their eggs in a series of tiny chambers they create within tunnels in decaying wood. You can recreate these kinds of nesting tunnels with this easy project!
You can build your own mason bee condos to provide bee habitat for your garden or schoolyard using the instructions below. Once completed, hang back and enjoy the show of buzzing, happy bees!
Time:
Approximately 45 minutes to 1 hour
Materials Needed:
- Coffee or oatmeal canister, other types of canisters/tins (at least 6 inches deep)
- Paper towel rolls or toilet paper rolls
- Recycle scrap paper (with ink/writing only on one side – need one side blank), paper bags can be used as an alternative
- 5×16” dowels or a large pencil/pen
- Clean and colorful bottle caps, wine corks, pipe cleaners, etc. for décor objects
- Glue gun and glue sticks
- Twine – 25 inches
- Ruler
- Tape
- Pencil
- Scissors
Safety Considerations
- Be very careful with the glue gun (have an adult use it).
- If wearing gloves, don’t wear rubber or plastic as it will melt.
- Place glue gun on a protective tray of some sort (like aluminum).
- Do not touch the nozzle at any time or point gun at anyone.
- Keep glue gun upright, not lying on its side.
- Use the lowest temperature setting needed with appropriate-sized glue sticks (never try to remove sticks from gun).
- Glue dries in 15 seconds so you must attach items very quickly – plan ahead (peel off glue and try again if you took too long and it’s not sticking).
- The glue will burn you if touched before drying. If burned, dip fingers in ice cold water.
- Never leave glue gun plugged in, unattended, or within reach of small children or pets.
Instructions:
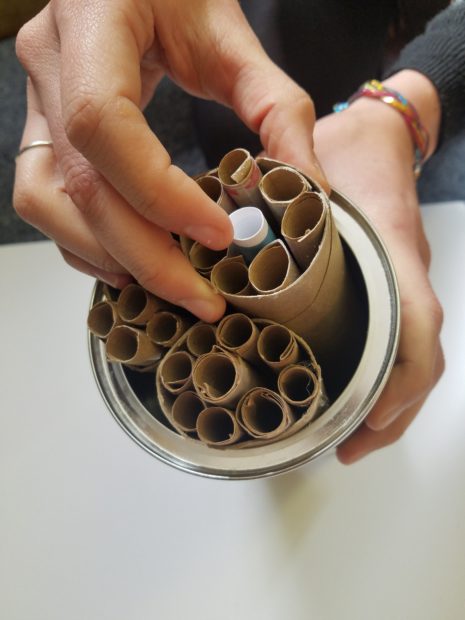
Photo by Morgan Parks/NWF Staff
- Using the glue gun, glue twine to the bottom of the canister and inside the canister on the top side (twine is used to hang condo from a hook under eave/deck – not exposed to weather).
- Use 3-5 paper towel rolls or double that amount of toilet paper rolls to snugly put inside the canister. If using toilet paper rolls, tape two together. Place rolls in the canister and using scissors cut off tops until the rolls are beneath the rim of the canister and protected from the elements.
- Use the ruler and pencil to divide one piece of paper into 3 strips – approx. 3.5 inches each (short and fat, not long and skinny)
- Use the dowel or large pencil/pen to tightly roll each strip into a tube (make sure the blank side of the paper is on the inside of the tube so ink can’t contaminate the bee larvae).
- Use tape to secure the tube at each end and place several pieces in the middle (if needed, put tape along the entire seam to make sure it doesn’t break open).
- Stuff each paper towel or toilet paper roll with 8-9 tubes and cut off tops so they are within the canister and not poking out.
- Decorate the outside of the canister by gluing recycled materials like bottle caps, wine corks, pipe cleaners, etc. (remember that bees are attracted to bright colors like blue, purple, white, and yellow).
- Optional: Fill in spaces within canister with pine cones, moss, straw, bamboo, grass clippings, sticks, etc. Materials must be completely dry to prevent moisture.
- Hang your bee condos on a fence or building at least 5-7 feet above the ground, preferably facing a southern or eastern sun exposure. Hanging under a deck or eave will help keep the paper and cardboard from getting wet in the rain and deteriorating. Place near flowering plants and access to clay/mud, which the bees use to build egg chamber walls within each nesting tube.
- Enjoy!
Keep in mind…
Mason bees, just like all other native wildlife, survive best in landscapes with natural features that already exist in our environment. And dead trees (like snags or fallen logs), hollow twigs, and bare soil provide the most ideal habitat for these pollinators. While homemade structures, like bee condos or insect hotels, can be beneficial, they concentrate large numbers of eggs and larvae in a small space.
To prevent these things, remove the canister filled with egg-filled tubes in the late fall and store it in an unheated shed or garage. In early spring, put out a fresh canister filled with new tubes and place the old canister nearby. As bees hatch out they’ll mate and find the new tubes to start the process again. These practices will keep your bees safe and healthy!
If you’re not feeling like making your own mason bee condos, you can also purchase a bee nesting house from the National Wildlife catalog.
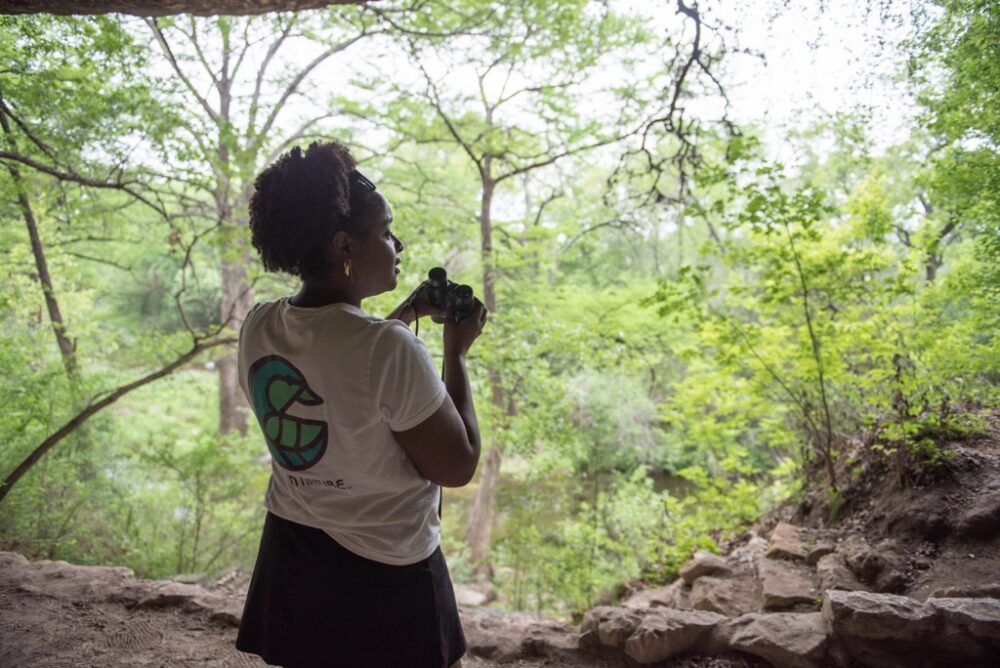
Want to learn more about how you can help native species in your backyard?
Now’s a perfect time! Check out our Garden for Wildlife website to learn more. And be sure to join the incredible community of Certified Wildlife Habitats today. Through May and June, you can earn 20% off your total purchase when you certify and purchase a sign.
