


We have much more to do and your continued support is needed now more than ever.
5 Last-Minute Steps to Enter the National Wildlife Photo Contest This Weekend
If you hadn’t heard, the deadline was extended for the National Wildlife Photo Contest. Hopefully this will give many of you the time you need to complete your entries and ensure you have a chance at that grand-prize trip to photograph polar bears in Canada. But even if you never planned to enter the contest this year, with this guide you can still enter by the deadline on Monday night. Do as much preparation as possible today and then hit the ground running this weekend. Let’s get started!
1. Choose a Subject and Location
With just 72 hours until the deadline, there’s not a lot of time to trust in serendipity. Your best bet is to select a category or two from the contest and focus your efforts. Armed with that focus, you can figure out where (and what) you’re going to photograph.
If you need a little inspiration, we’ve got you covered! See past images from some of our categories here:
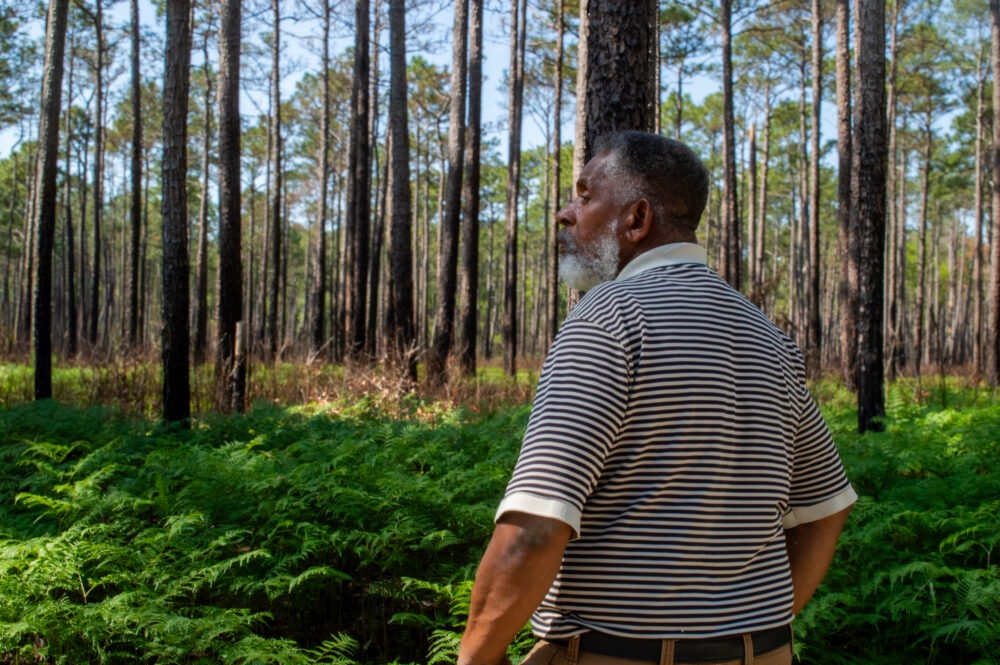
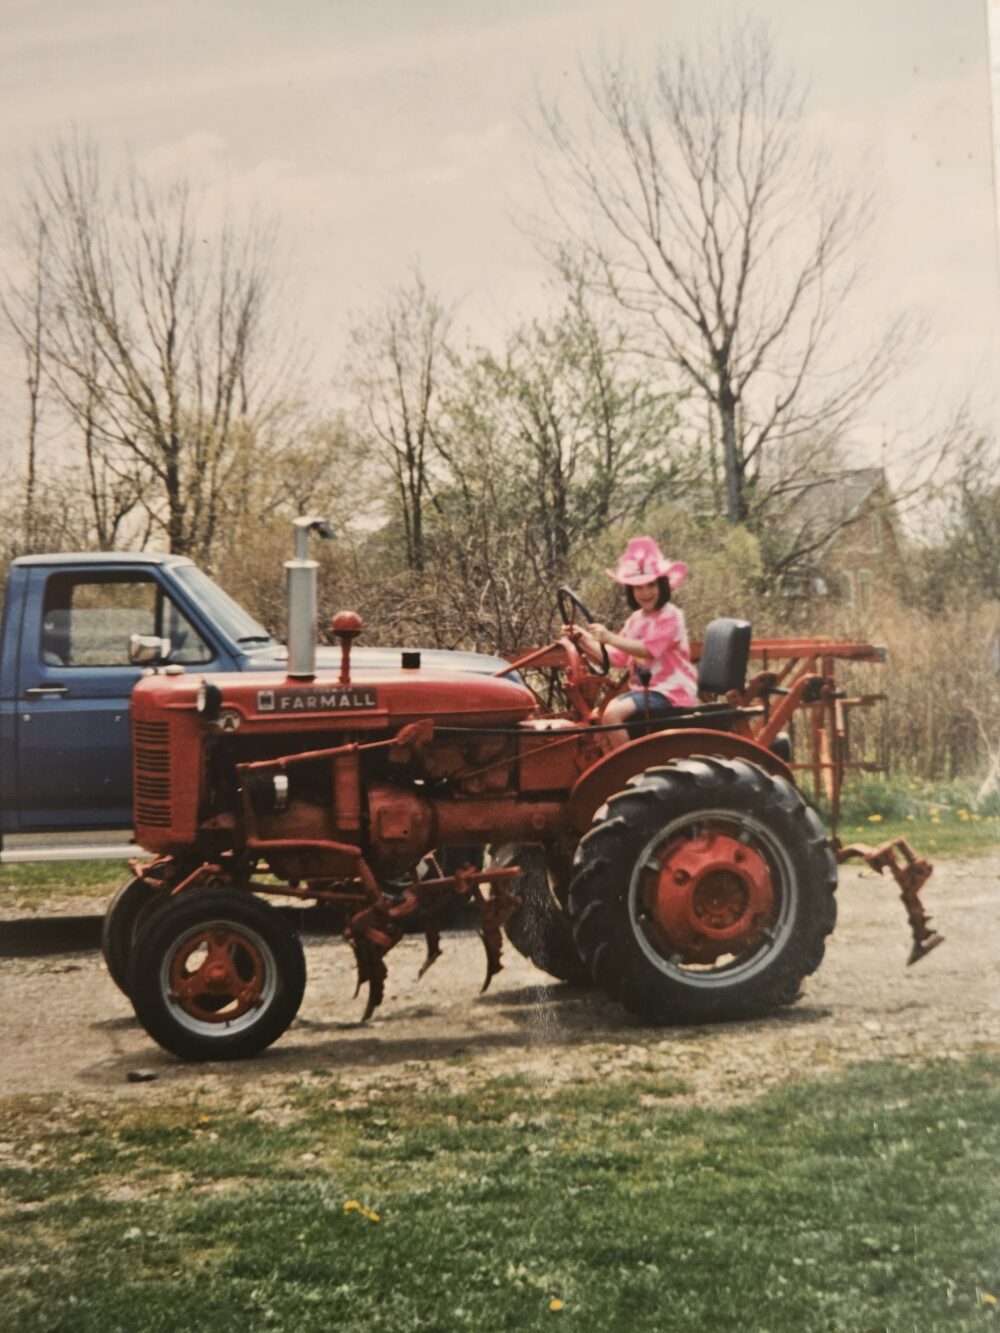
- Category Spotlight: Connecting People With Nature
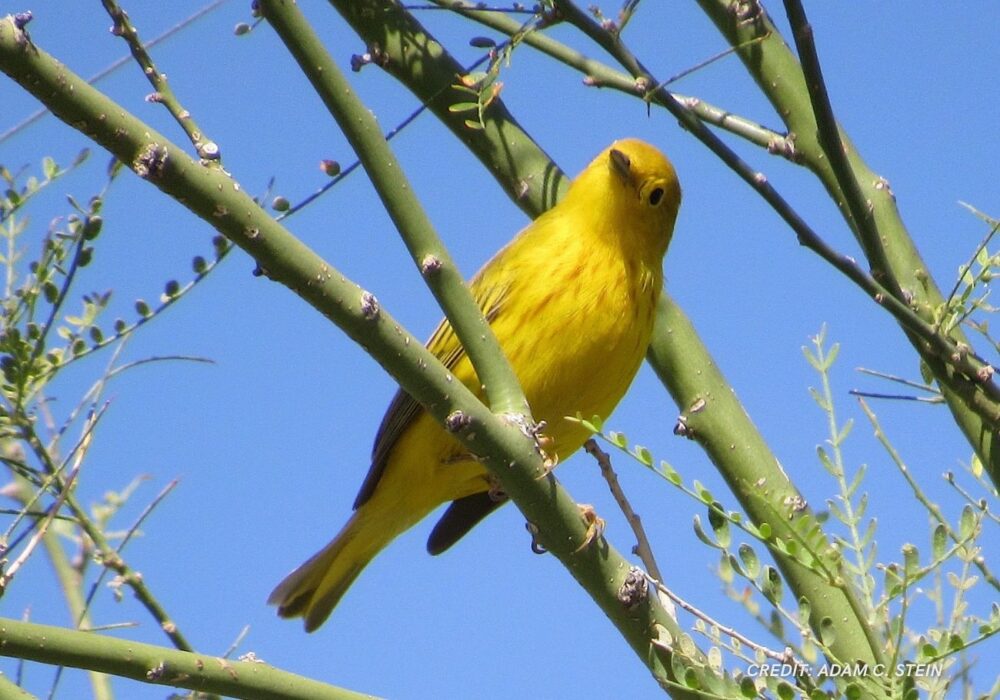
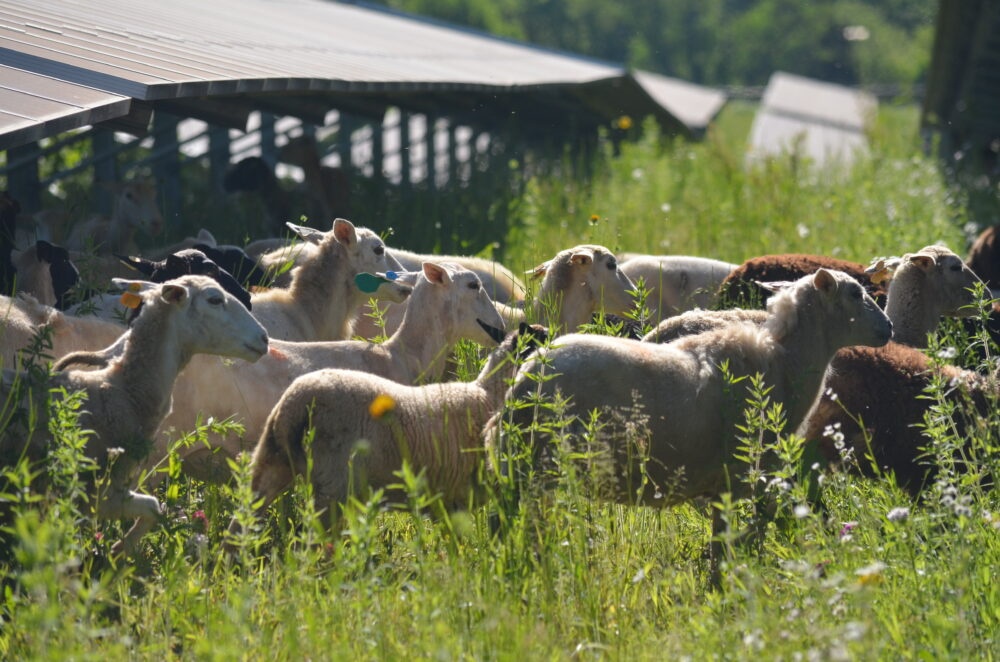
- Category Spotlight: Backyard Habitats
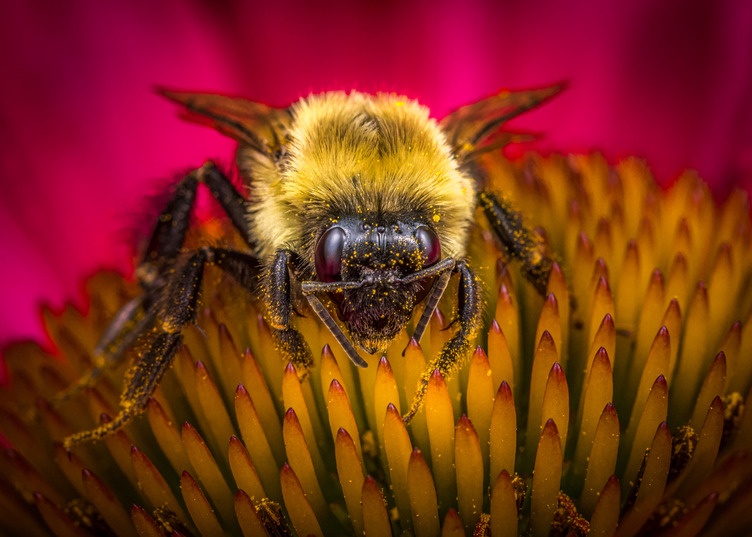
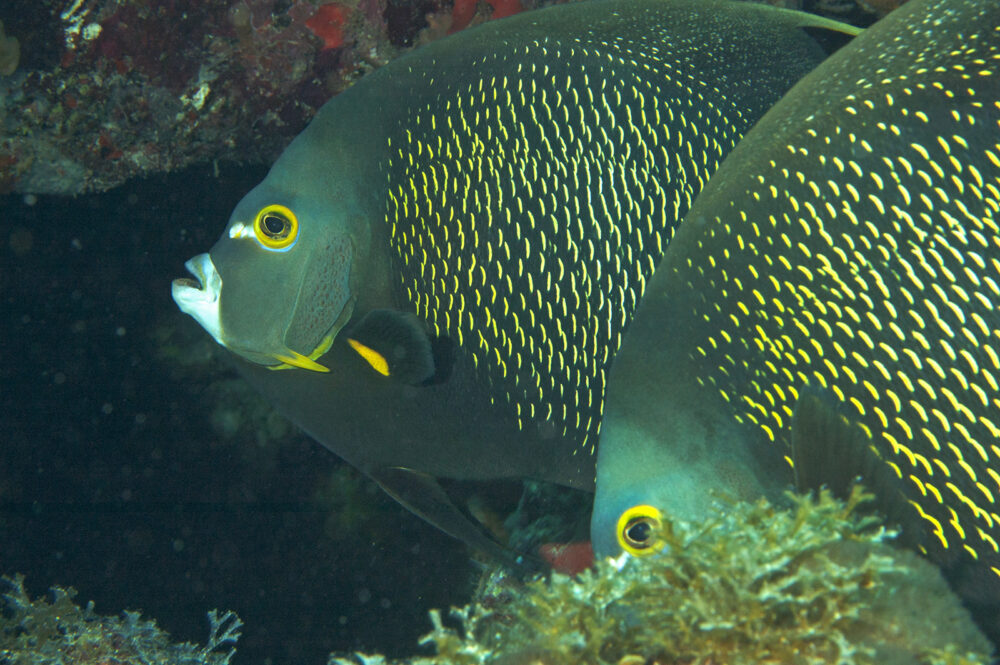
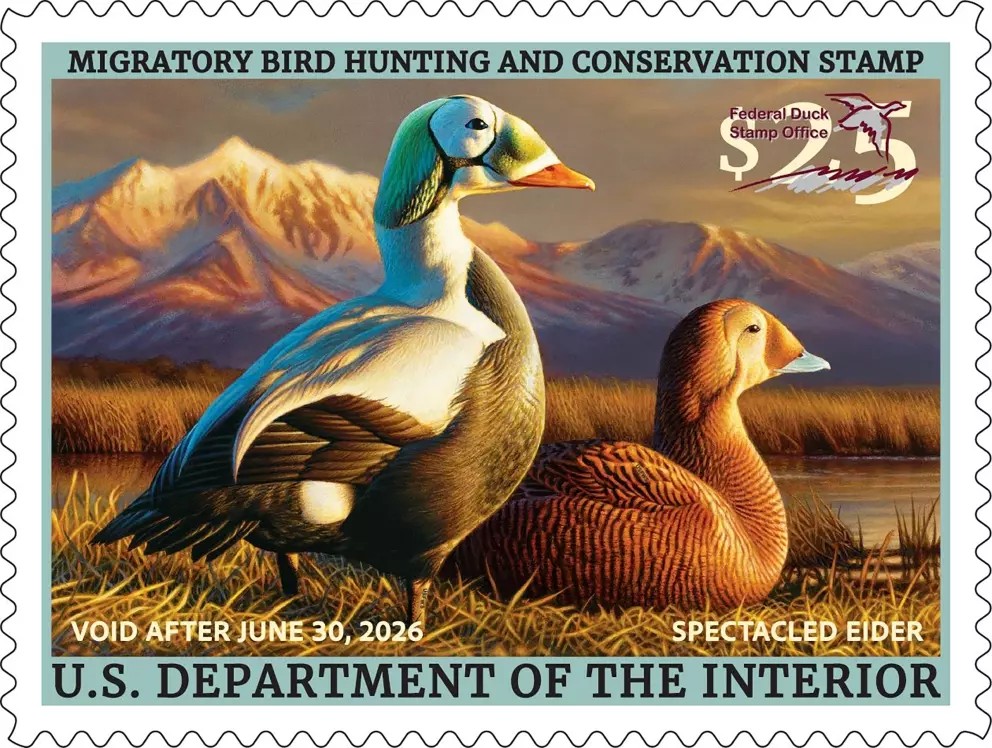
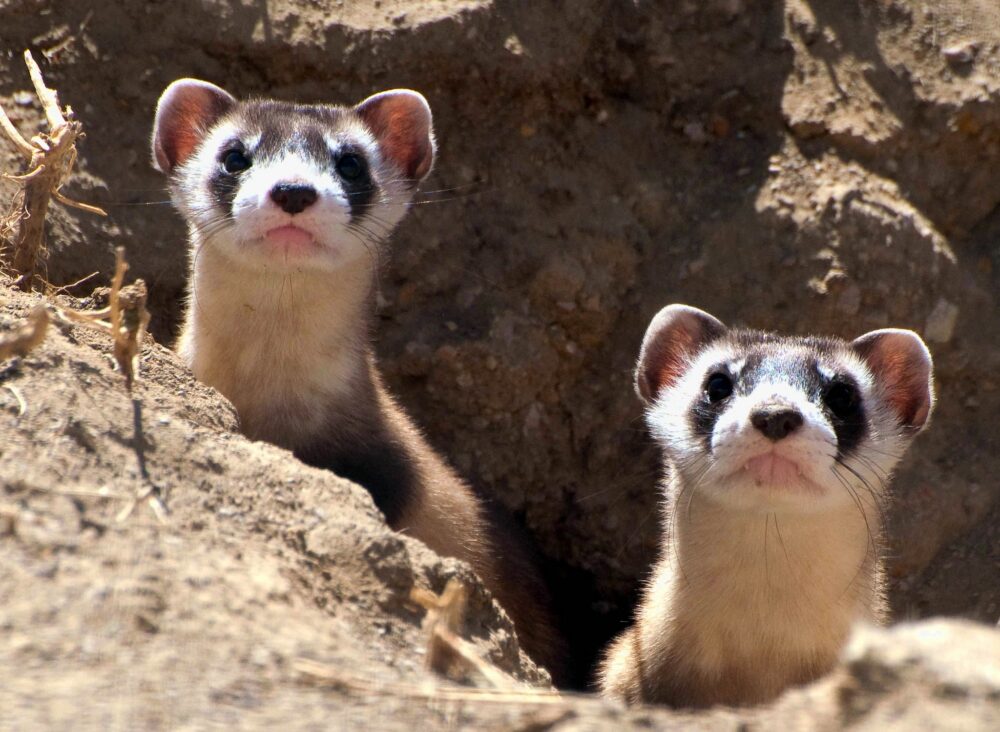
- Category Spotlight: Other Wildlife
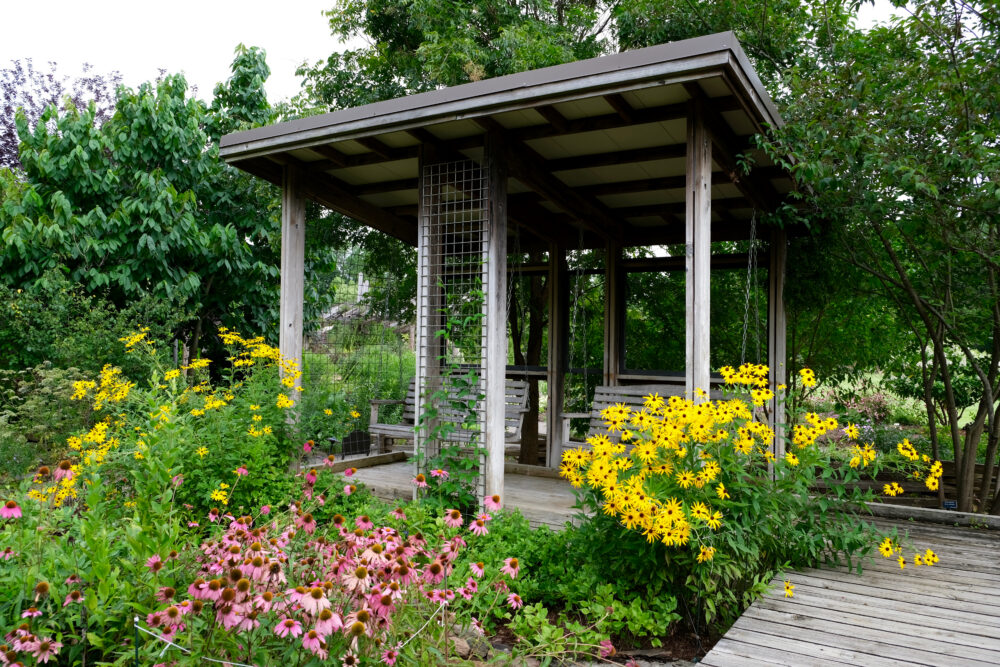
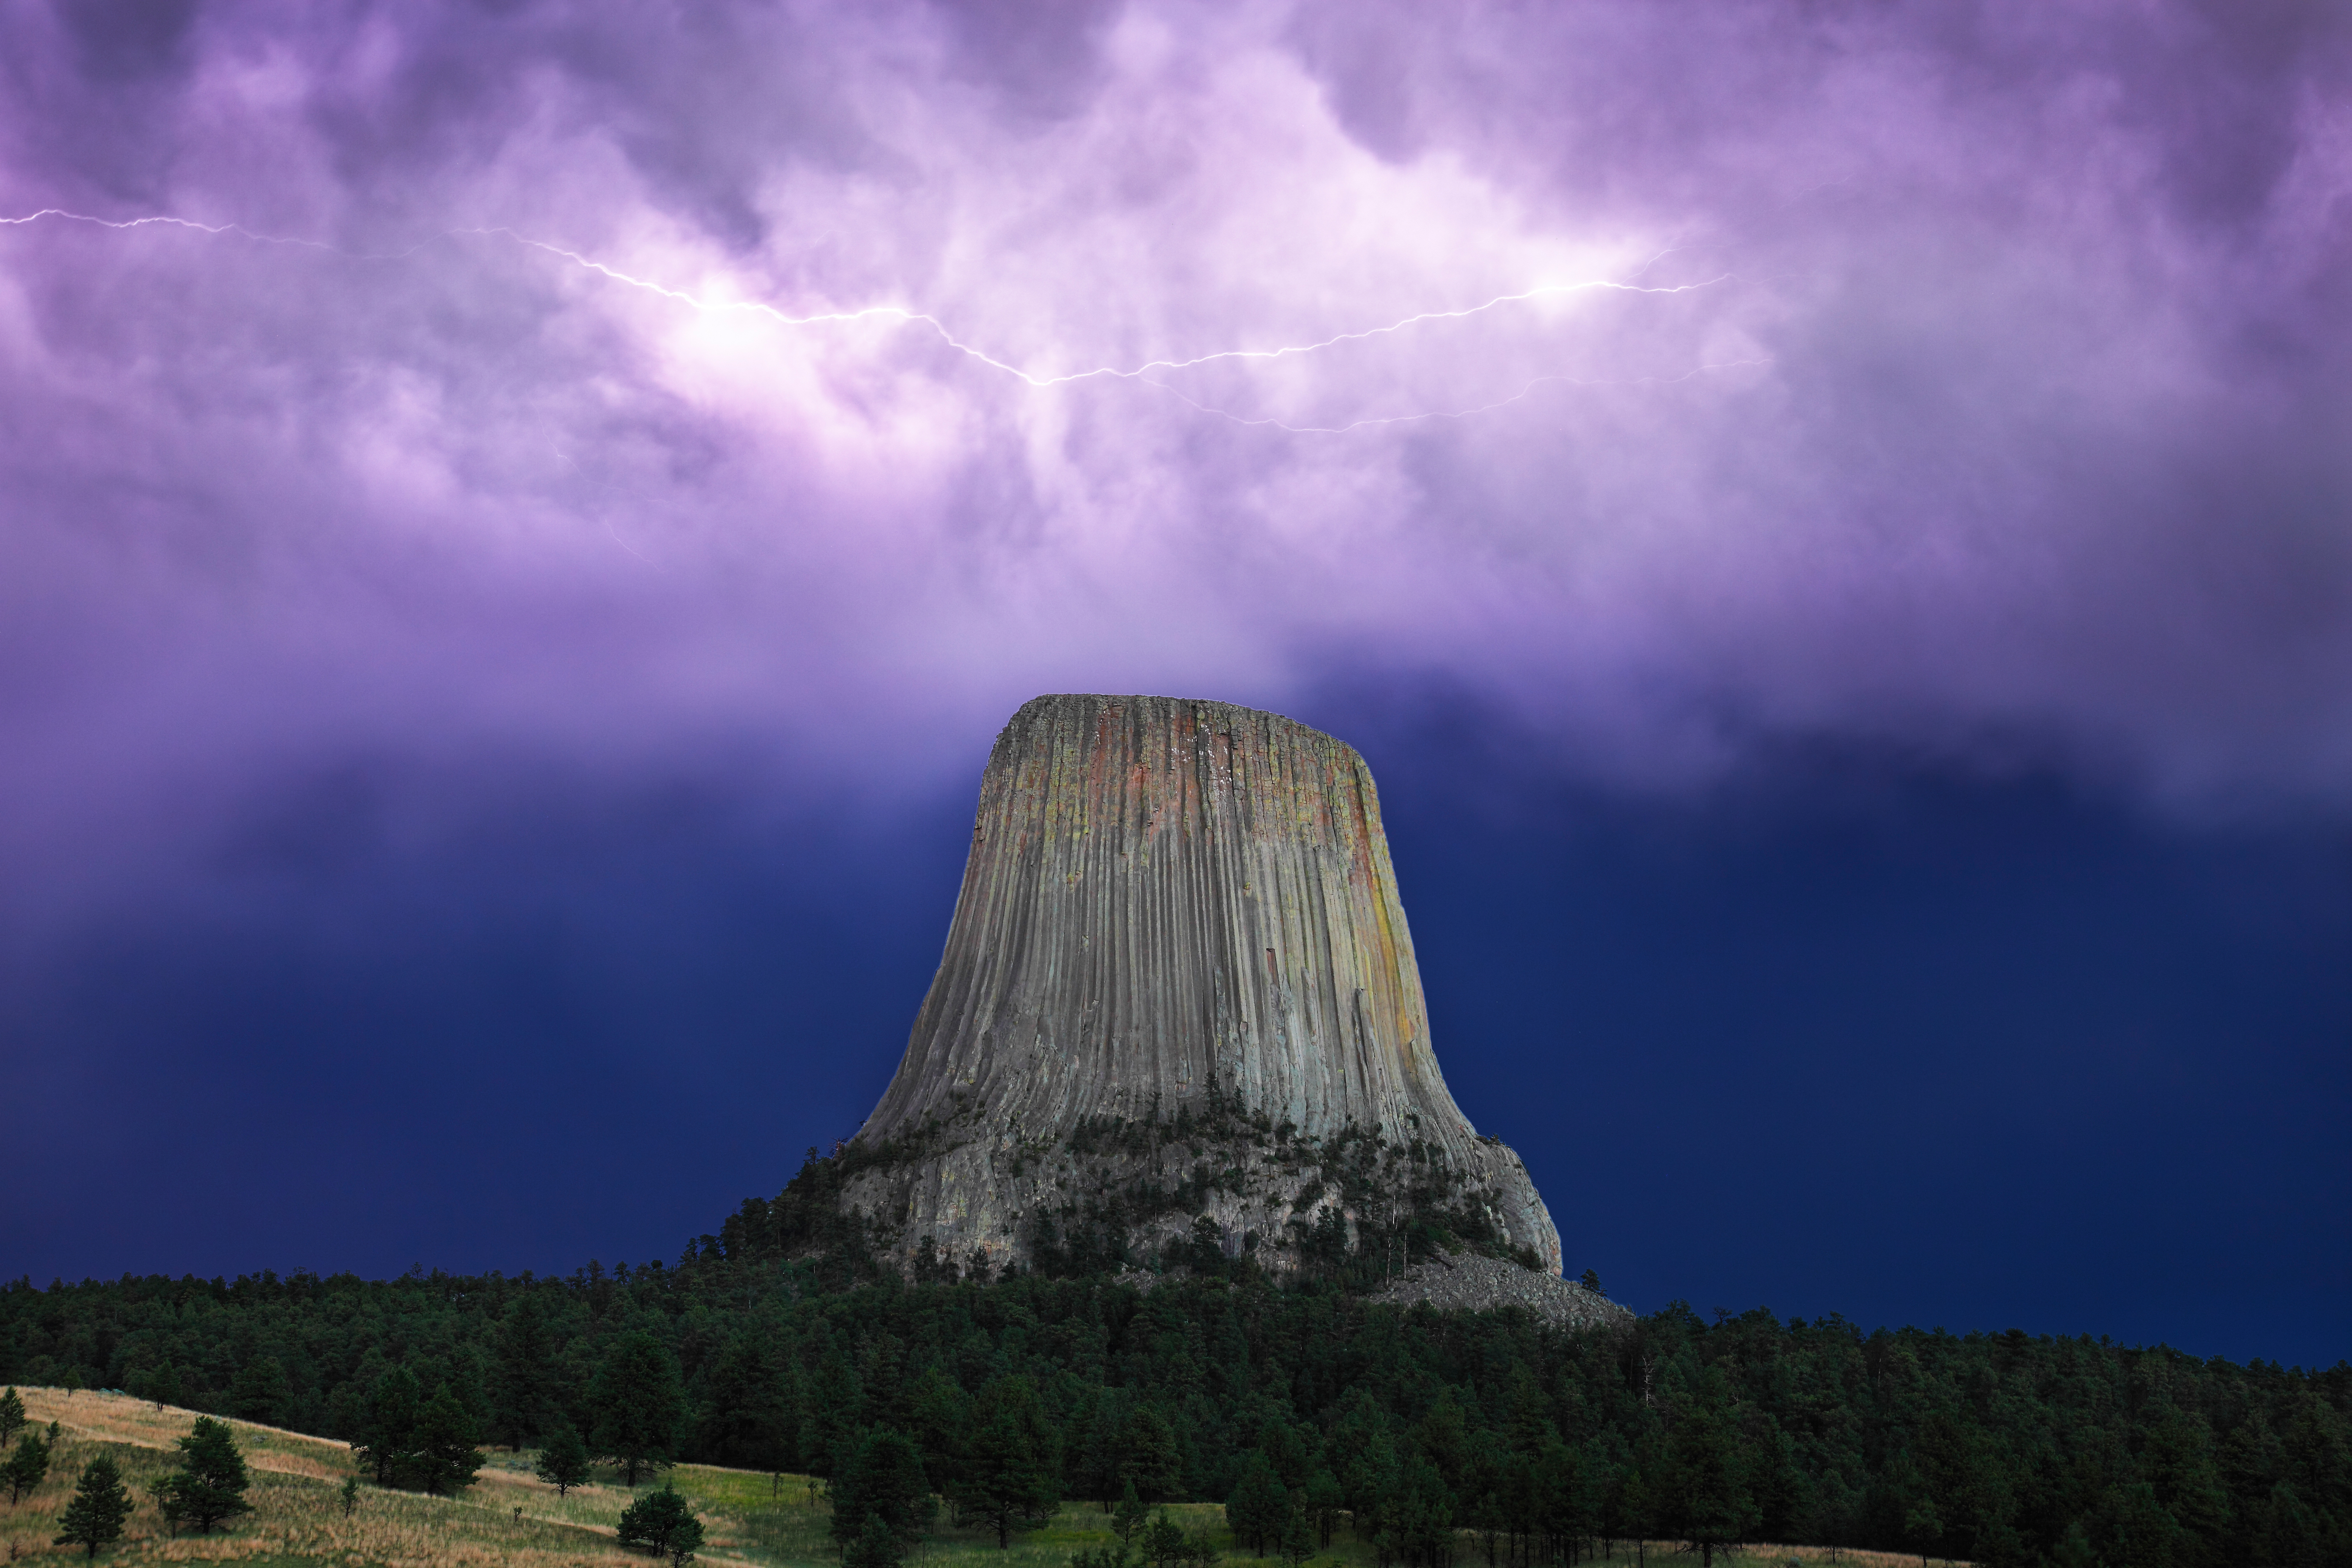
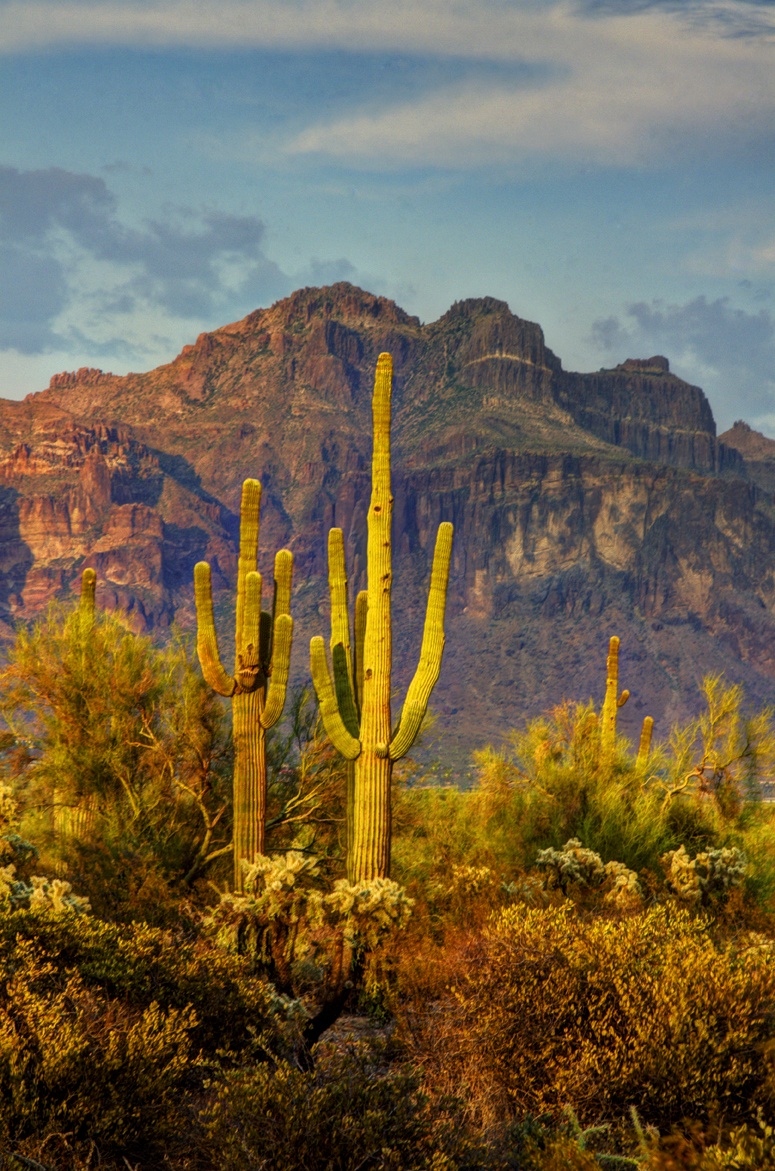
- Category Spotlight: Landscapes and Plant Life
You can also use our Nature Find tool to search for events, parks and trails near you. That will help locate a good spot for your photo shoot without requiring you to travel too far out of your way.
2. Plan Your Shoot
As the saying goes, “Timing is everything.” This is especially true for nature photographers. Whether you’re trying to capture the first (or last) rays of the sun over your favorite lake or shoreline, or want to photograph an animal in its natural habitat, how you time your photography outing will directly impact the quality of your images. Here are some ideas to prepare you.
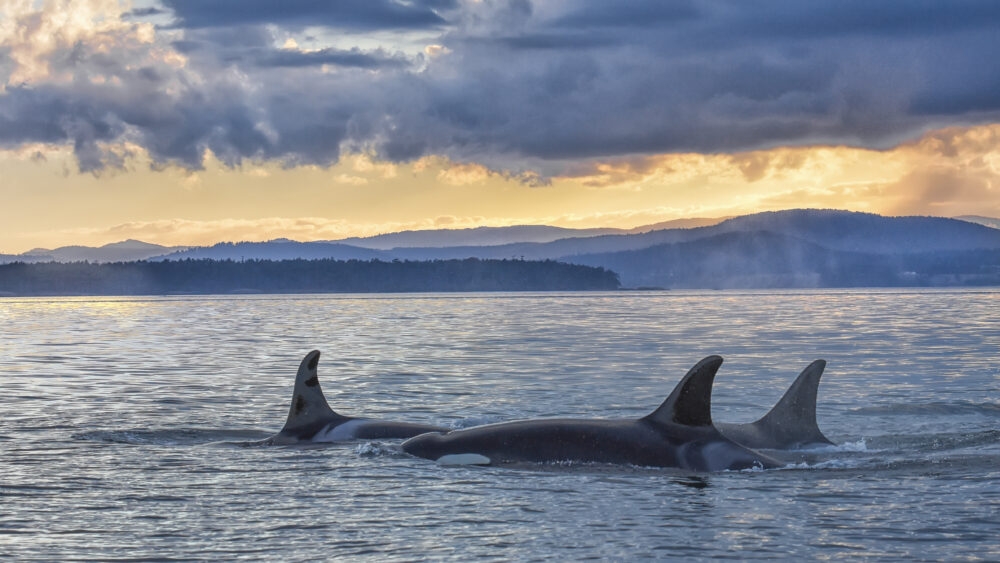
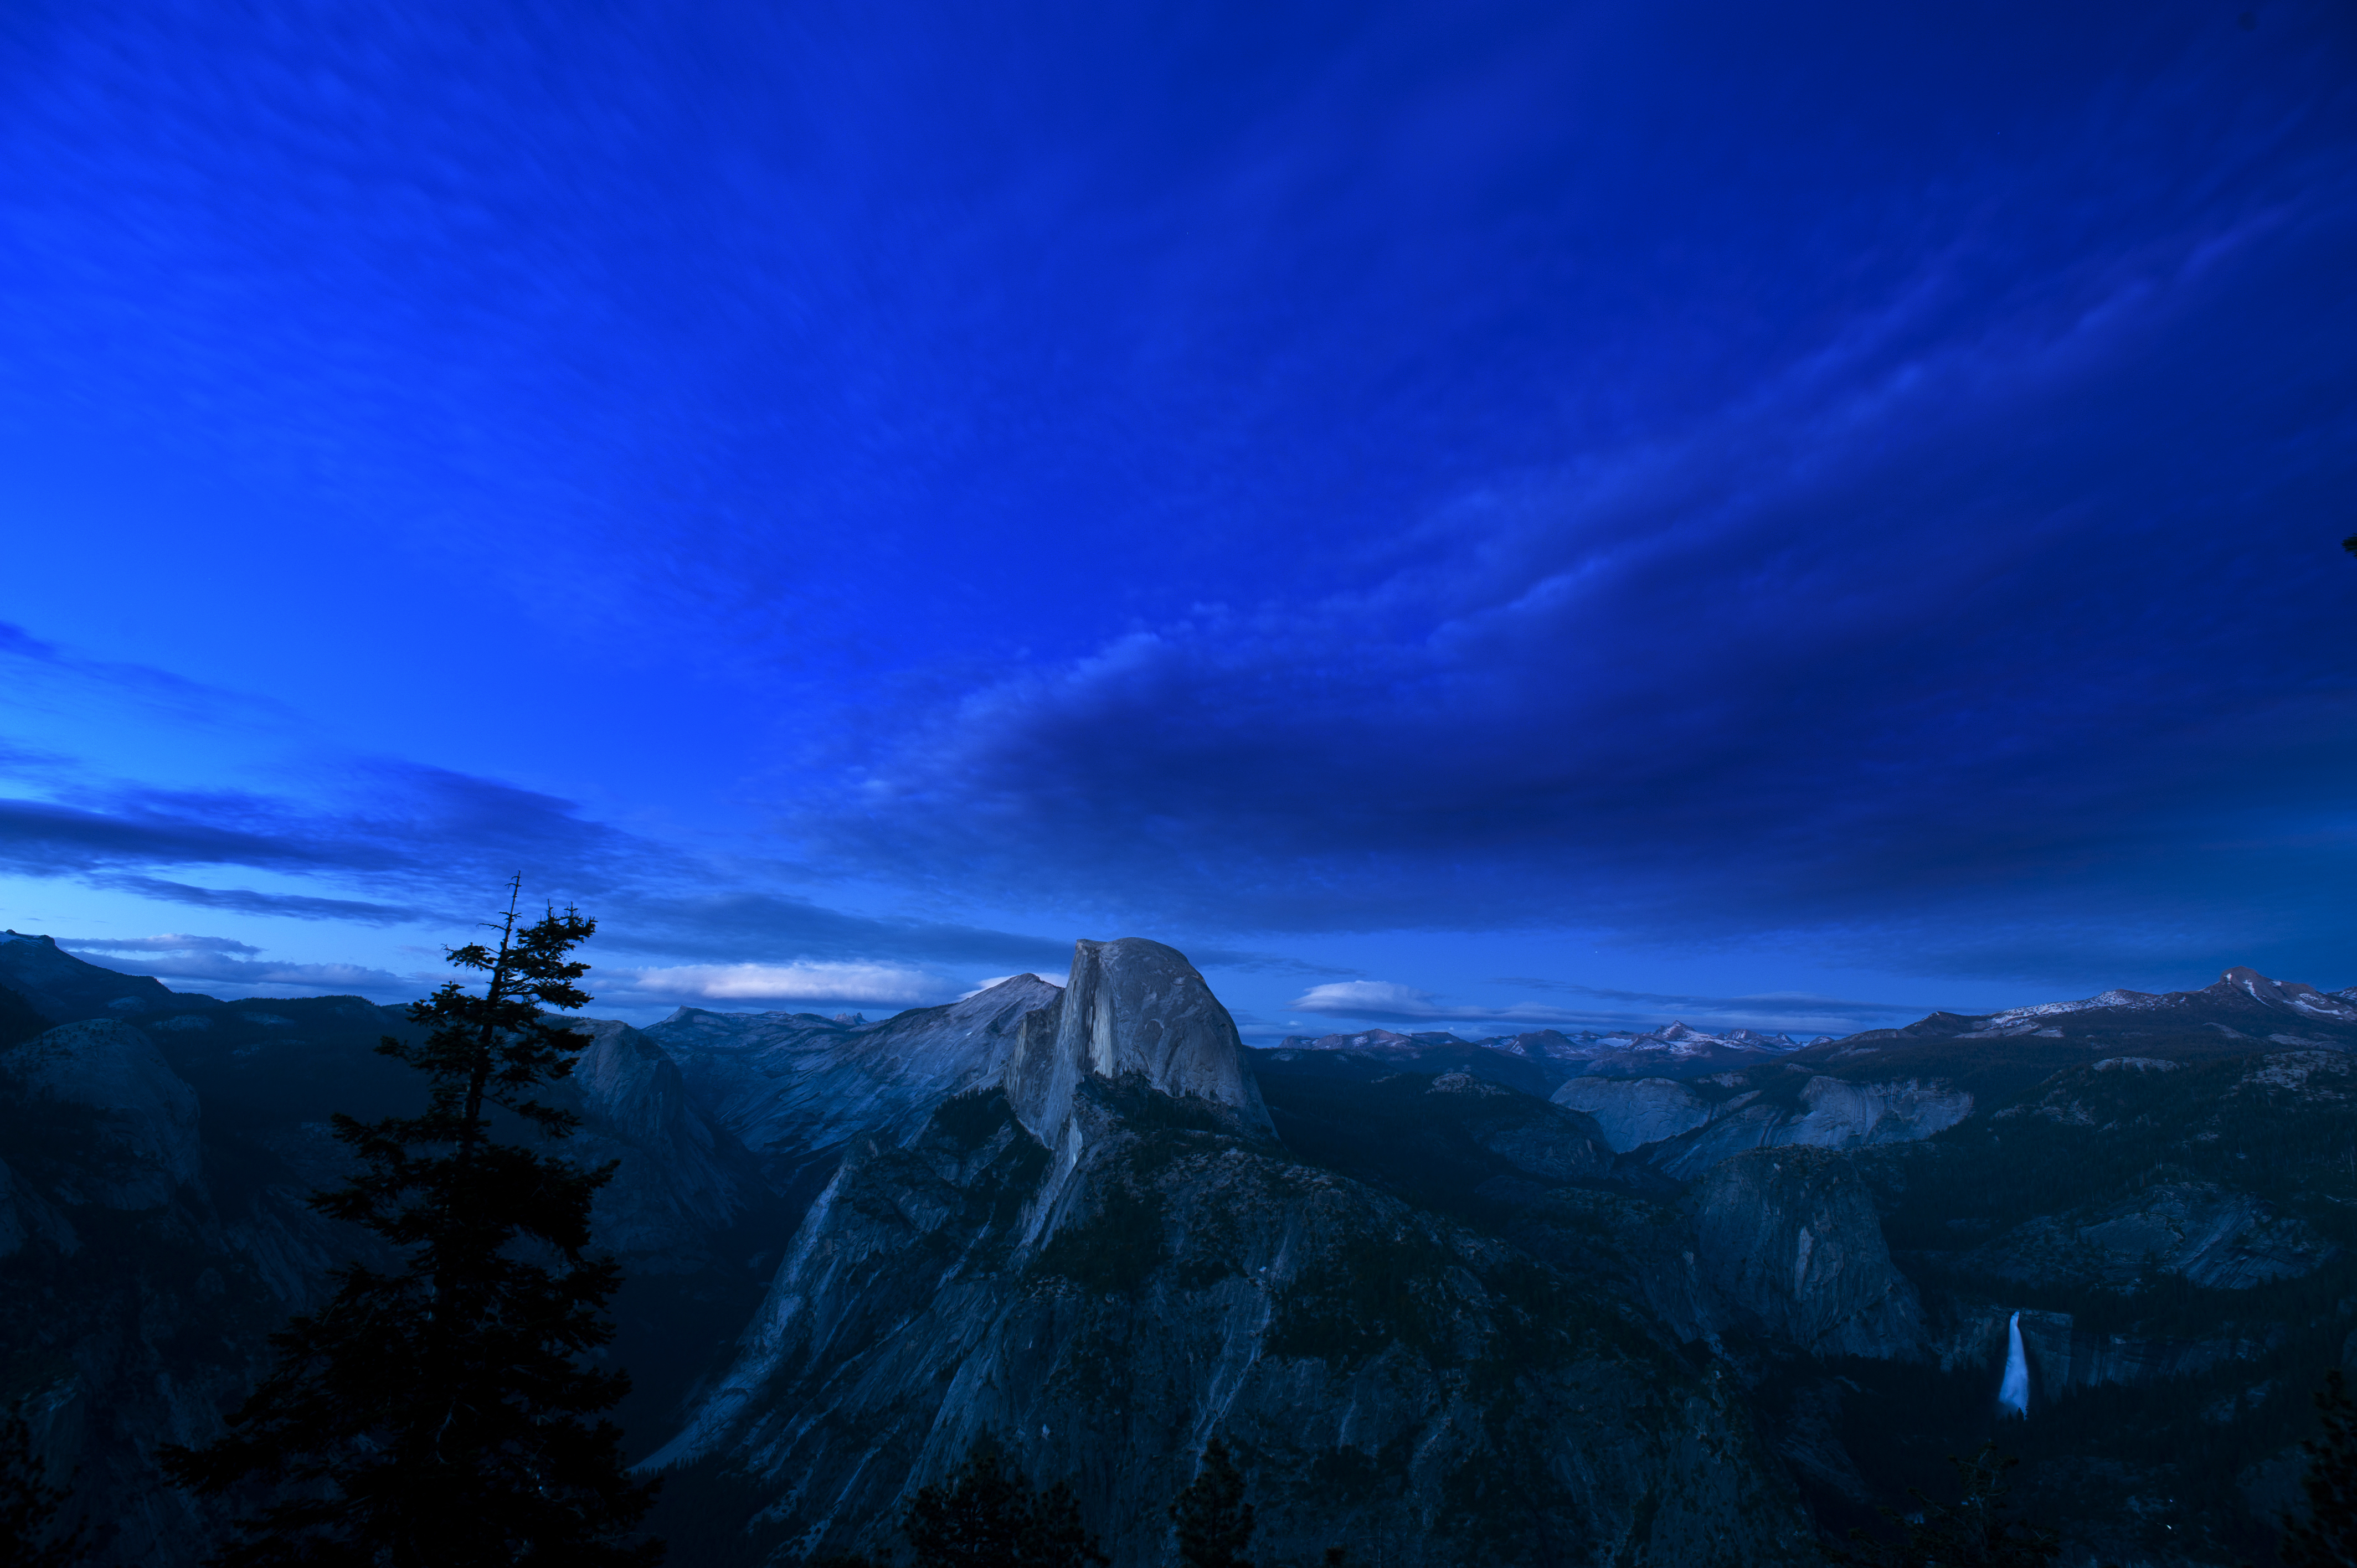
Golden Hour and Blue Hour
Sunrise and sunset are special events in their own right, but they also heavily influence the available light for other photography. The first and last hour of sunlight are referred to as the Golden Hour. Light from the sun is diffused through the atmosphere, making shadows longer (or eliminating them entirely) while giving everything a more reddish glow. Many landscape photographers take advantage of this effect, though it also works well for wildlife photography and with many plants and flowers.
Blue hour, on the other hand, refers to the period between daylight and darkness. It presents a good opportunity for long exposures or images with dramatic skies or bodies of water.
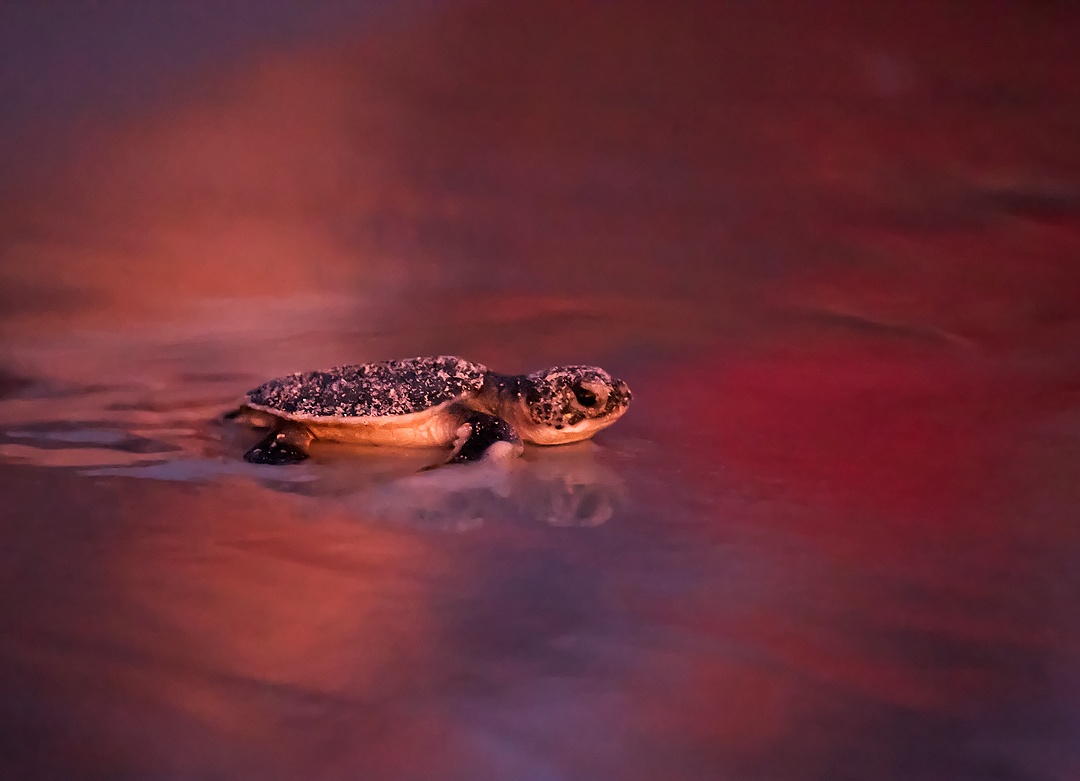
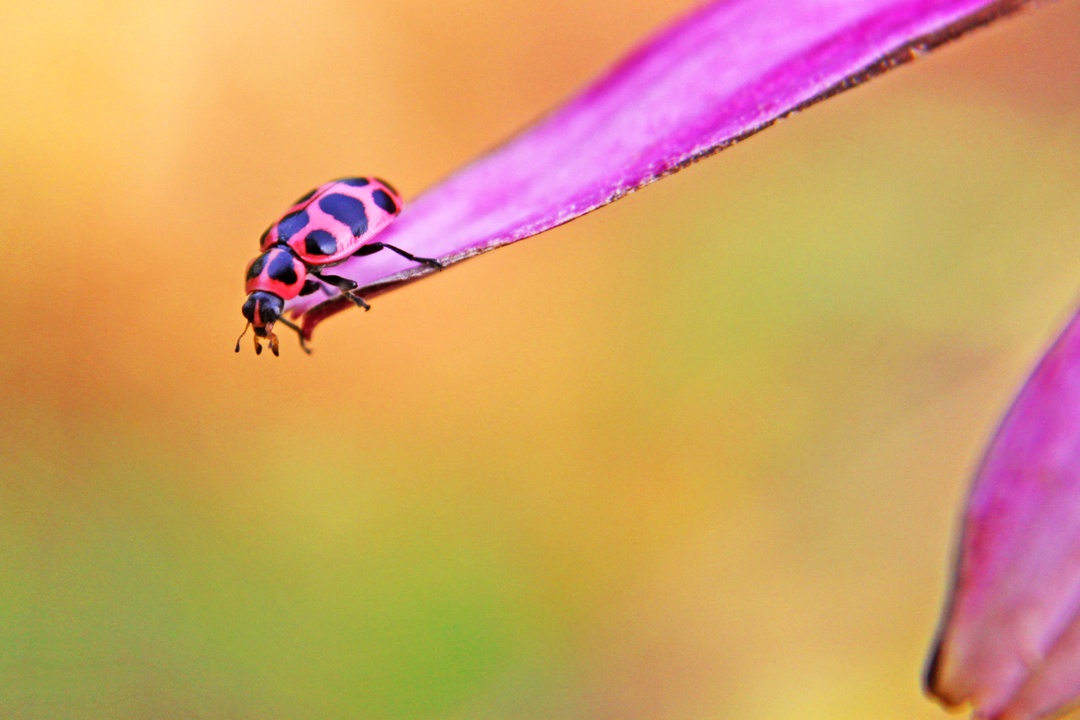
Animals and Plants in Their Element
For truly inspirational wildlife photos, try to learn about your subject before you set out. You can often find information about the flora and fauna found in state and federal parks and wildlife refuges online. Knowing when wildlife are active and awake can be key to capturing them with your camera. Other information, like eating habits and mating season, can give you even more opportunities to get a unique perspective or photograph a once-in-a-lifetime image.
Equipment
You don’t want to get out “in the field” and realize you forgot your tripod or the right lens for the job. We have some great tips on landscape photography lens selection from expert photographer Jim Goldstein. There are even some cool apps you can check out, like The Photographer’s Ephemeris, which helps plot the location of the sun and moon over the course of the day. Charge up your camera battery (and bring a spare) and ensure you have plenty of memory cards or film. Also, be sure to pack some water and snacks and, (since it’s July), some protection from the sun.
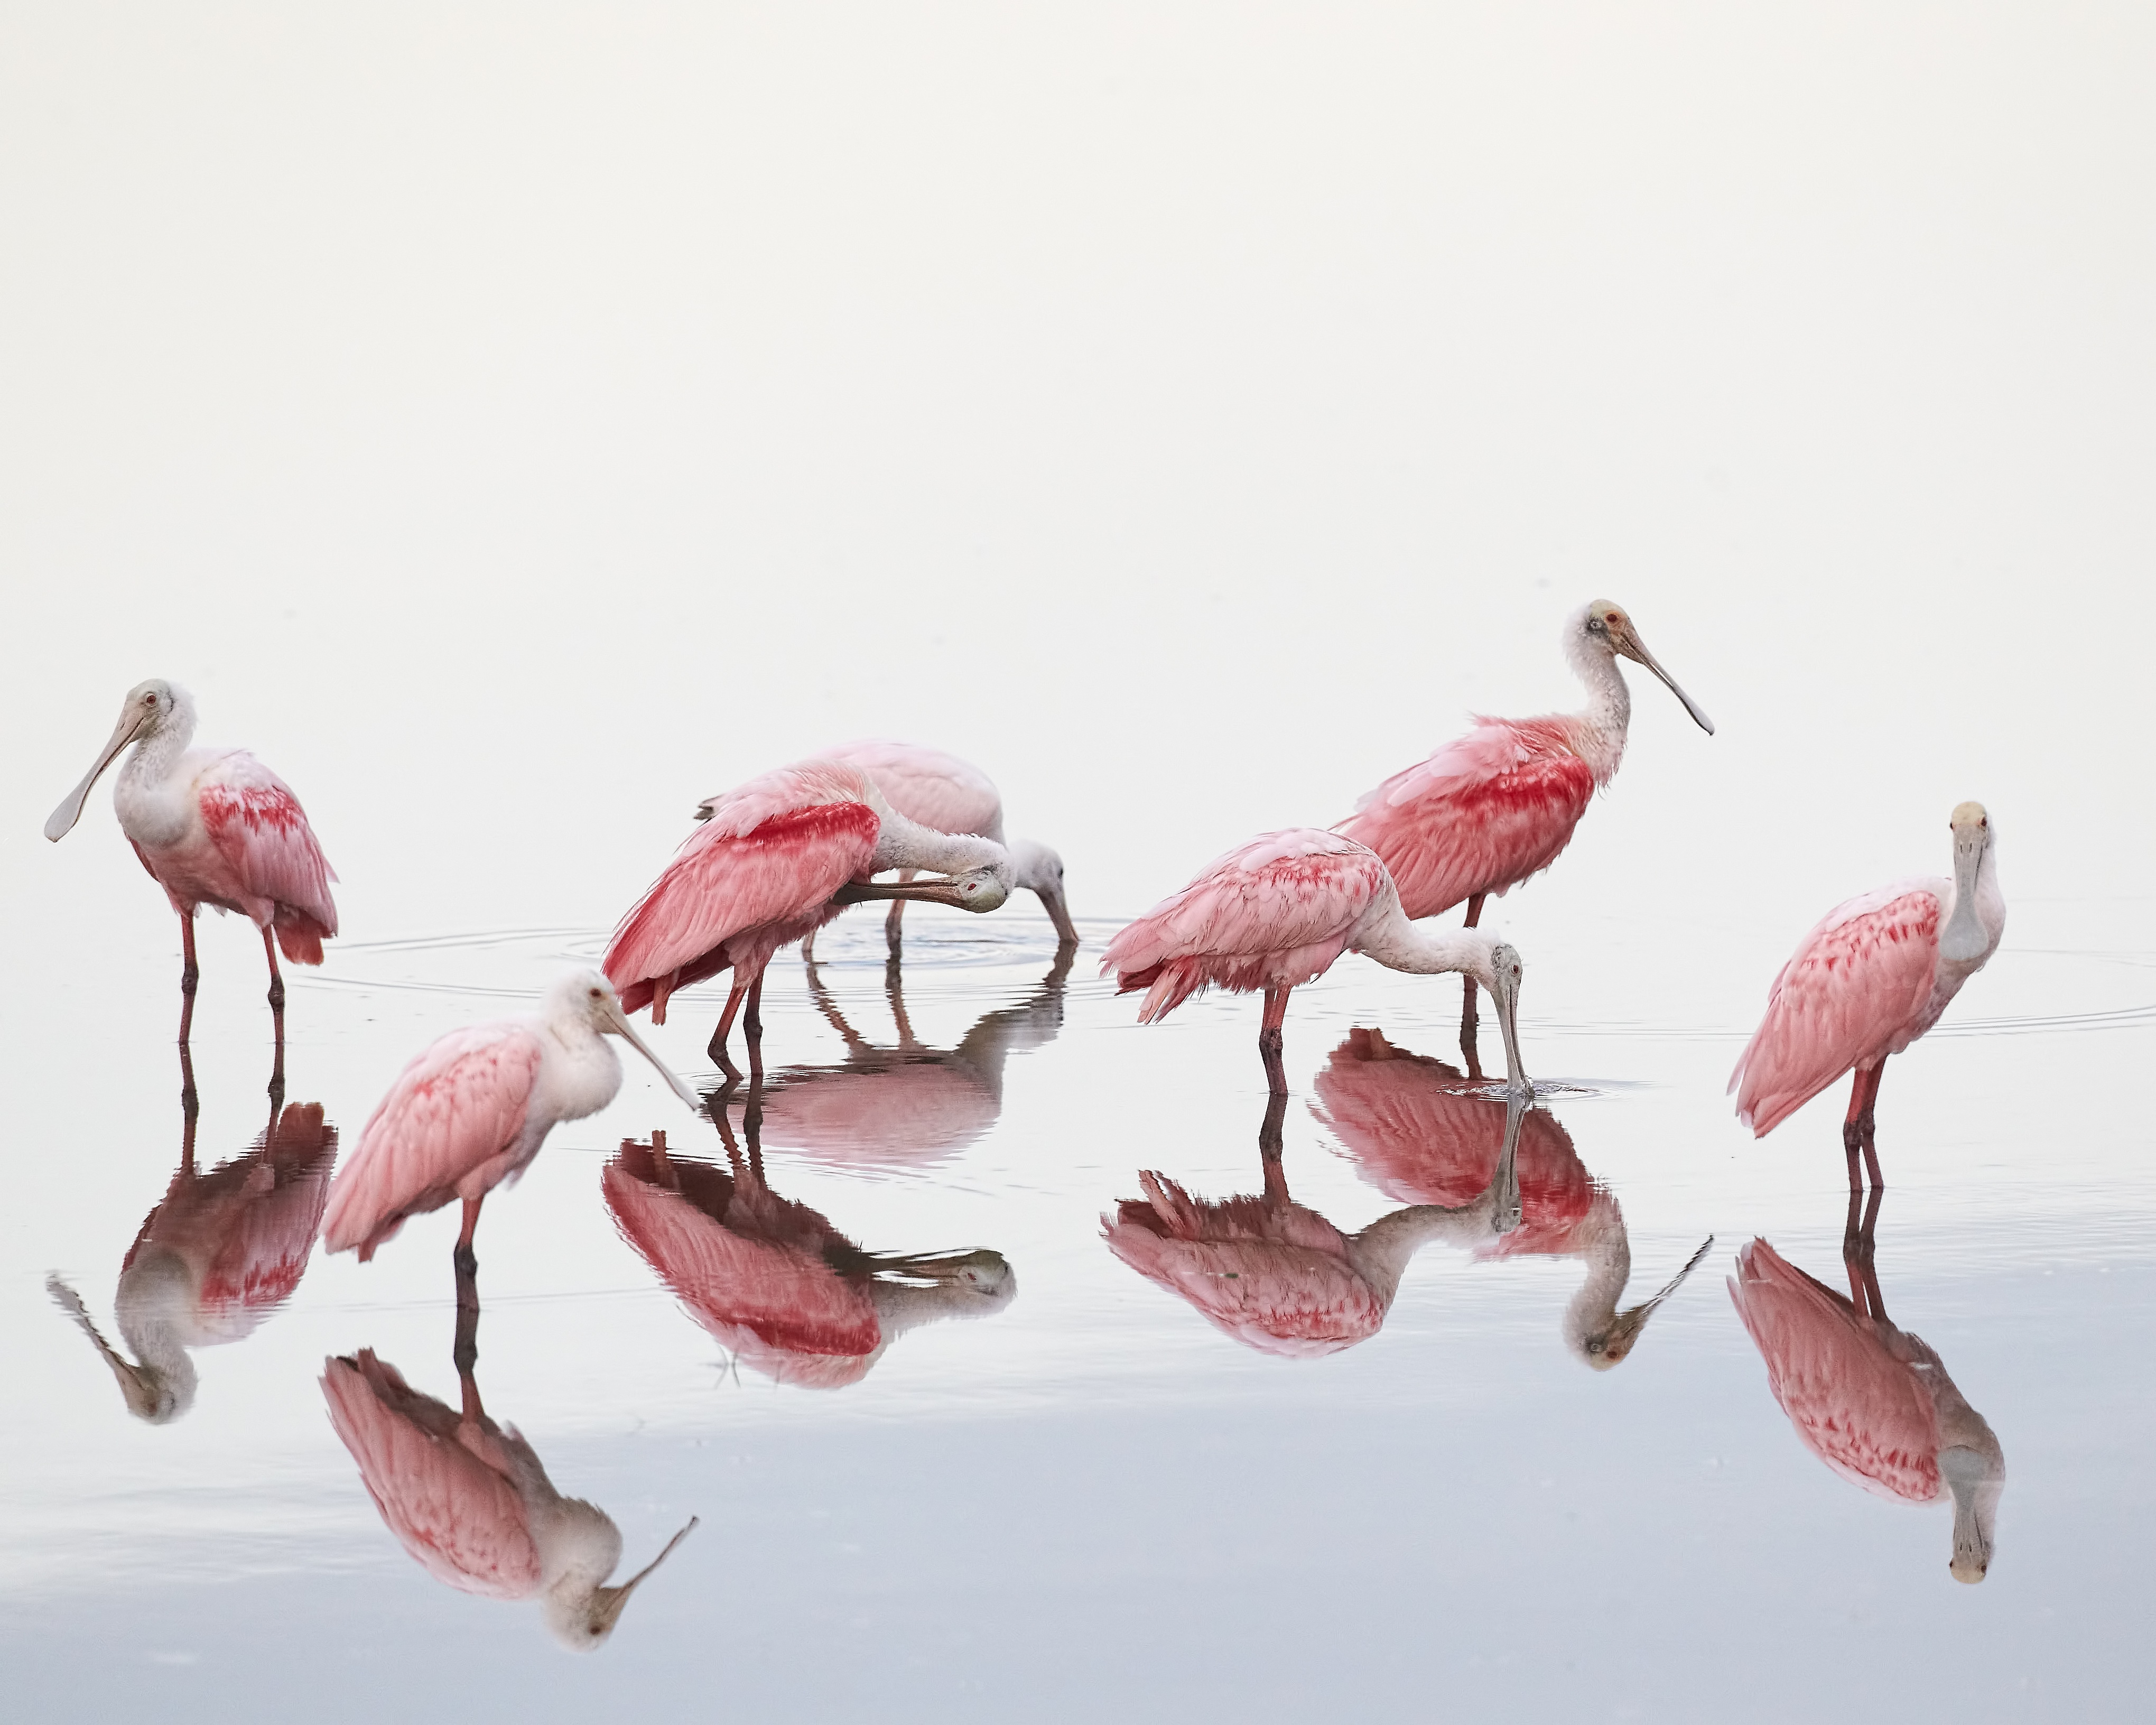
3. Take Pictures!
So, here’s the fun part, where all your preparation comes together. You’ve got a location, you know what you’re going to photograph, you know what time to get there, and you’ve got all your gear.


4. Select and Edit Images
Whether you’re shooting digital or keeping it old school with film, all entries to the National Wildlife Photo Contest must be submitted electronically. So, you’ll eventually have those images on a computer. Remember that you’re limited to 10 individual images when you enter (though you can enter additional sets of 10 images for $20 per set). If you’re like me, after a typical day with the camera, you have way more than 10 photos. Also, each photo is limited to one category.
Now, go through the photos and keep an eye out for those that have a special appeal.

I should note that a certain level of manipulation is allowed (adjustments to color, contrast, brightness and sharpness; removal of dust and scratches; cropping; black and white conversions), while more substantial changes are not (for example, photo collages and the addition, duplication, deletion or moving of objects in the photos; or the use of artistic digital filters and effects). The images you enter should above all “accurately reflect the subject matter and the scene as it appeared.”
5. Enter the Contest
Entering is pretty easy: just head over to the site, sign up for an account (you can even log in with your Facebook info), and submit your photos. Here are a few of things to keep in mind.
- Provide an accurate description in the “subject” field and provide a detailed story. This helps lend some context to your images and is helpful if it is featured as a Photo of the Week.
- You can select whether or not to enter each image into the People’s Choice competition.
- We really appreciate it when people donate their images to NWF, which is an option during the contest. We use donated images to advance our work in many ways, and we’ll always credit you as the photographer.
- Your entrance fee also grants you a one-year membership to National Wildlife Federation—as a result, you’ll receive a one-year subscription to National Wildlife Magazine and a 10% discount on all National Wildlife Federation merchandise.
Now that you’ve entered, do you have a tip for other photographers? Share your insight in the comments below! One of my favorite things about being a photographer is learning from the amazing people out there who are trying new things and discussing their techniques.
